Below are the instructions for getting into and making changes to the Toronto Wallboard (kiosk) when Lindee or one from the Toronto Customer Service group requests to make changes.
Example Ticket: https://pfgc.atlassian.net/browse/PFG-654389
RDP into PLN-RDS-ITSD.COREMARK.COM with your Core-Mark EA credentials
Use SCCM to Start the Remote Control to desktop to computer name TOR-1GPQ5K3-DT
Username: sa-ebs.ca
Password: ebs-CA3
You can create the desktop shortcut directly on the desktop of the kiosk or you can use the directory below and set it up in there
Path: \\TOR-1GPQ5K3-DT\c$\Users\SA-ebs.ca\Desktop
Paste the (TV) URL provided in the ticket in the shortcut creation - https://pfg.2ring.cloud/tv/frl0jo
Click Next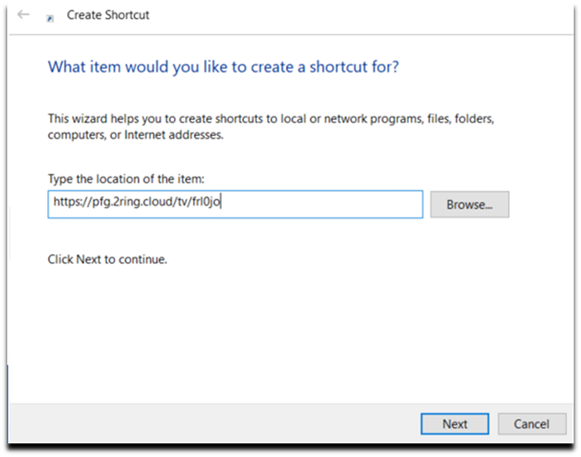
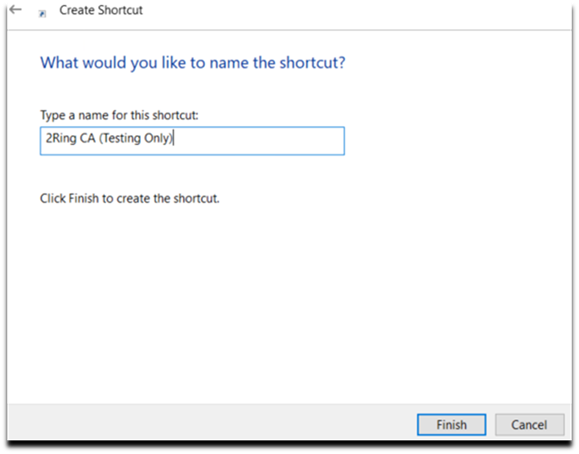
Give the newly created shortcut a name (let Lindee know what you choose)
Click Finish
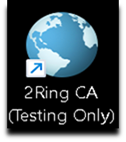
You will notice the newly created shortcut on the desktop
Let Lindee know that she will need to approve the new QR for the Wallboard to display after opening the shortcut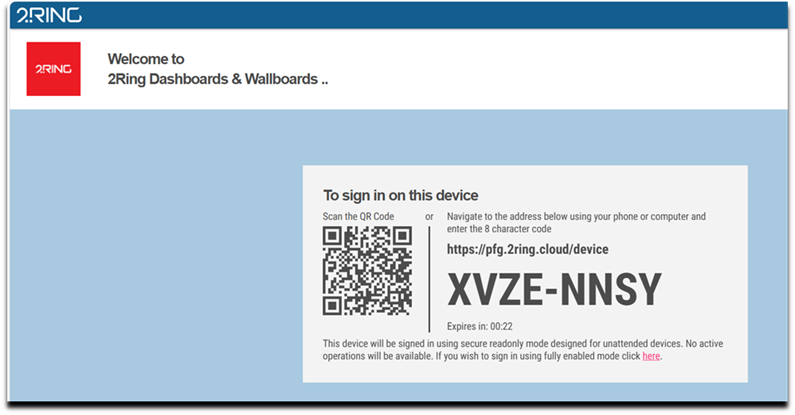
The Wallboard will look similar to the following. You are done!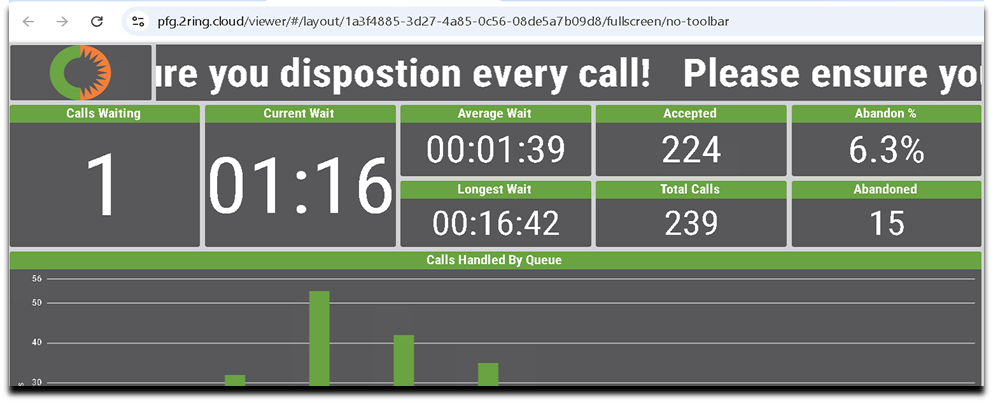
Was this article helpful?
That’s Great!
Thank you for your feedback
Sorry! We couldn't be helpful
Thank you for your feedback
Feedback sent
We appreciate your effort and will try to fix the article